


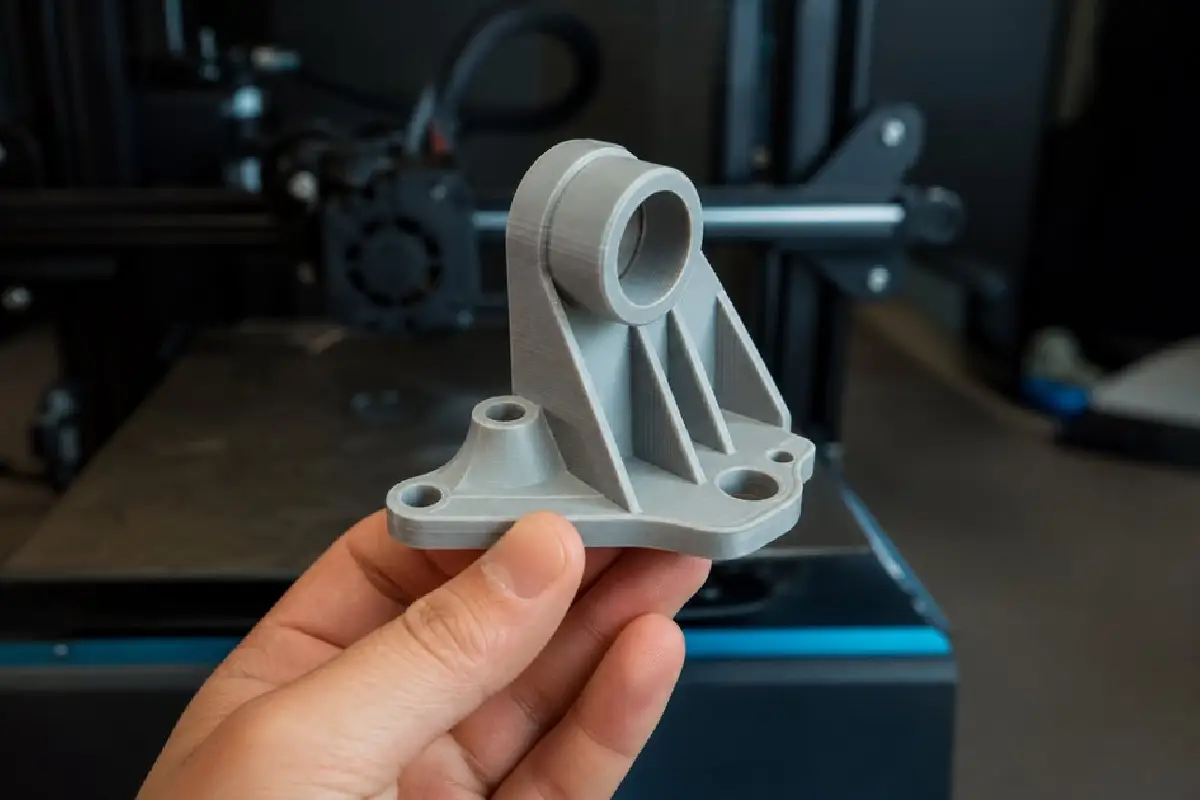
3D printing – more info at this link, is often thought of as the go-to solution for prototyping. The ability to quickly iterate designs and test them out in the real world is incredibly powerful.
Match Functional Prototypes to Their Intended Use
A functional prototype should allow you to test as much as possible. But that means selecting the right material and process for your application and needs. For example, if you’re testing a flex action, you don’t want a rigid material or process to make the part with.
Similarly, when designing a part to be 3D printed, it’s critical to not over- or under-specify it. As with material selection, you want the prototype to behave as close to the end-use as possible.
Here are a few questions to consider:
- Will this part see repeated mechanical loads or impacts? Will it be exposed to high heat?
- Does it need to hold fasteners or clips in place? Can it handle being dropped?
Set Practical Limits Before Committing
A wall thickness of 0.5 mm may be printable in some processes, but it is rarely a reliable choice for a part that will be handled or loaded repeatedly.
Ultimately, you want the right balance of investment in your prototype, not so much that you’re trying to make it last forever but not so little that it fails to perform. The goal is to answer as many questions as possible before committing to expensive processes or machining.
Print Jigs and Fixtures for Changing Workflows
Jigs, fixtures, and assembly aids are among the most common uses of 3D-printed parts in the workshop. They’re often only used for a specific job, only in small quantities, and need to be updated when the process changes. This makes it difficult to justify producing these tools in any way other than additive – explore more types of 3D printed parts if you want that route.
This is also a situation where there’s no reason to over- or under-specify the tool, and there are plenty of advantages to 3D printing over other common methods.
The best jig is often the one that disappears into the workflow. 3D printing allows the jig to disappear into a process by:
- Accommodating complex geometries that could be challenging to make otherwise
- Being custom tailored to a single part or operator
- Integrating internal features that are impractical or impossible in other processes, like threaded inserts, bushings, labels, grips, etc.
- Being updated as the process changes (as often is the case in product development)
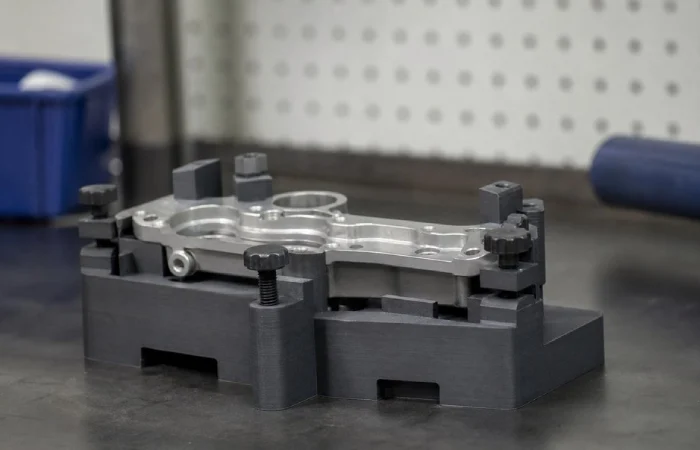
Design Workshop Tools Around Repeated Loads
While most jigs and fixtures are used in controlled environments, it’s still helpful to understand how they will be used.
- Will this be used to hold parts together for a chemical or solvent process?
- How much force or clamping will the tool see?
- How many times will it be used? Will it be dropped over its lifespan? Can it handle being bumped or dragged along the shop floor?
You can 3D print a threaded hole or two if you want, but they won’t stand up to being used over and over. Adding threaded inserts or a metal bushing or designing a softer pad might be better solutions.
Qualify End-Use Parts for Real Conditions
When using 3D printing (https://www.nasa.gov/manufacturing-and-materials/) for end-use parts, it’s critical to thoroughly understand all operating conditions. This is also the most common area of the industry in which 3D printing can underperform due to a lack of planning and qualification.
There are some situations where 3D printing is the perfect choice to make end-use parts. When there are a low number of parts, when they need to be updated often, when complex assemblies can be combined into fewer parts, or when they can be made on demand to replace others, 3D printing can be the best option.
Just like with jigs and fixtures, it’s helpful to thoroughly understand the operating environment for your 3D-printed part. Here are some questions to consider:
- What is the range of temperatures that will be seen in operation?
- What loads or stresses will it undergo? Will it experience many cycles over its lifetime?
- Will the part be exposed to sunlight or moisture? What chemicals or solvents could it come into contact with?
- What materials and surfaces will the part rub against or come into contact with?
- What will happen if the part breaks or fails? Is it critical for the safety or function of the larger device?
These are all questions that need to be answered when designing a part and specifying the right process and material. When 3D printing end-use parts, you need to be comfortable with the mechanical properties of the material, the tolerances, part qualification and traceability, post-processing/finishing, inspection, and more.
Prototypes, particularly when it is the goal simply to get one good part, may only need a simple note of the material used and how the part was oriented.
If you are expecting a part to be production quality, though, that needs to be defined at the outset. Controlled build parameters should be noted, inspection criteria should be defined, and post-processing steps recorded.
Print orientation affects the direction in which layers are laid down, and this in turn will affect part strength, surface finishes, and tolerance accuracy.
If the part is meant to mate with an existing part, allowance should be made for the entire assembly, not just the printed feature. Surface texture, part shrinkage, and post-processing can all affect clearances, so critical mating surfaces should be measured, and adjustments made after a test print.
Choose the Application Before the Process
There are times when each of these is the right application for 3D printing. Where people struggle, however, is when they don’t understand the different uses. They end up treating them as if there’s no significant difference between them.
This results in the part either being over-engineered when it’s only a quick test or under-engineered and ultimately failing prematurely.
When you define exactly how the component will be used and the mechanical and environmental stress it’ll see, the rest of the choices become easier to make. Then you’ll be able to select the appropriate materials and processes, understand the tradeoffs of each, and develop the best solution.